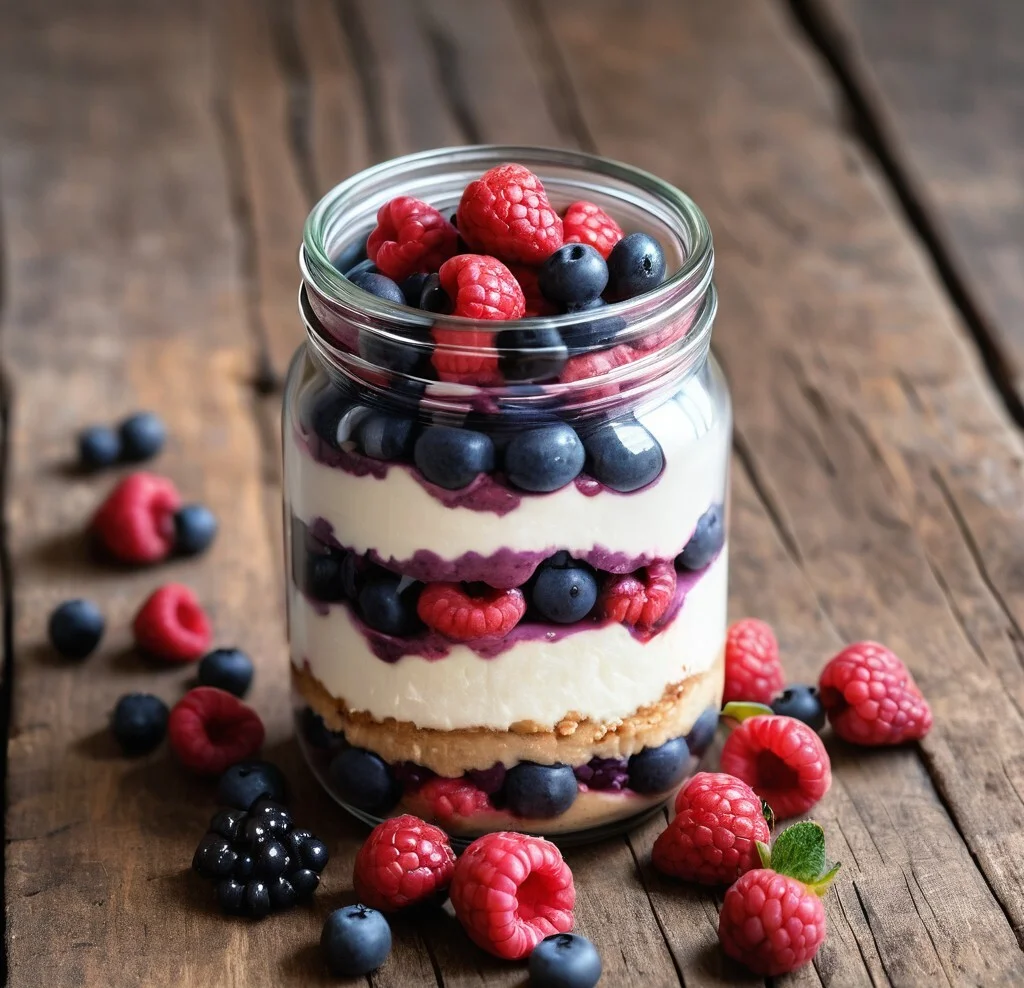
Craving Cheesecake Without the Crash?
Okay, real talk: who doesn’t love cheesecake? That creamy, dreamy texture, the slightly tangy bite, the indulgent richness… chef’s kiss. But let’s be honest—sometimes it just doesn’t vibe with your goals, especially when you’re trying to keep your snacks high-protein, low-sugar, and fuss-free.
Well, friend, that’s exactly why I created these Protein Cheesecake Jars!
I first whipped these up on a Sunday meal prep spree, craving something sweet that wouldn’t derail my macros. I tossed a few favorites into the blender, layered them in some cute jars I had lying around, and BAM – magic happened. Now? I keep a batch in my fridge at all times.
These healthy cheesecake jars are great for you: they’re no-bake, easy to make, and loaded with protein to fuel your body and satisfy that sweet tooth like a boss.
Why These Protein Cheesecake Jars Are a Game-Changer
- Protein-Packed: Each jar boasts around 20–25g of protein, depending on your powder of choice.
- Perfectly Portioned: Built-in portion control for smart snacking or dessert.
- No Oven Needed: Just blend, layer, chill – done!
- Quick to Make: From zero to cheesecake hero in under 10 minutes (+ chill time).
- Endlessly Customizable: Go chocolatey, fruity, nutty – whatever your vibe.
- Meal Prep Friendly: Make 3-5 at once and enjoy all week long.
- Low Sugar, Big Flavor: Sweet satisfaction without the spike.
Ingredients You’ll Need
For the (Optional) Crust:
- ½ cup (50g) crushed graham crackers or oat biscuits
- 1 tbsp (15g) melted coconut oil or unsalted butter
- 1 tsp maple syrup or sweetener of choice
For Gluten-Free Crust: Use gluten-free graham crackers or almond flour with coconut oil.
For the Cheesecake Filling:
- 1 cup (240g) plain Greek yogurt
– For creaminess and a big protein punch. - 8 oz (225g) light cream cheese, softened
– Full-fat for ultra creaminess; light works too! - 1 scoop (30g) vanilla protein powder
– Pick one you love the taste of! Whey or plant-based both work. - 2–3 tbsp (30–45ml) milk of choice
– Adjust for desired consistency. - 1–2 tbsp sweetener of choice
– Options: stevia, erythritol, honey, maple syrup – totally up to your taste buds! - 1 tsp vanilla extract
– Adds that classic cheesecake flavor. - Pinch of salt
– Trust me, it balances the sweetness beautifully.
How to Make Your Protein Cheesecake Jars
1. Make the Crust (Optional but delicious):
Mix crushed crackers, melted oil, and sweetener in a small bowl. Press about 1–2 tablespoons into the bottom of each jar. Set aside.
2. Blend the Filling:
In a medium bowl or blender, combine Greek yogurt, softened cream cheese, protein powder, milk, sweetener, vanilla, and salt.
👉 Pro Tip: Make sure your cream cheese is fully softened to avoid lumps! Blend until super smooth.
3. Layer It Up:
Spoon or pipe the filling over the crust layer (or directly into jars if going crustless). Smooth the tops with the back of a spoon.
4. Chill:
Cover and refrigerate for at least 2–3 hours, preferably overnight.
This helps the cheesecake set and the flavors meld – worth the wait!
Pro Tips for a Tasty Protein Cheesecake Jars
- Lump-Free Filling Secret: Let your cream cheese sit out for 30–45 minutes before mixing. Room temp = silky smooth.
- Getting the Texture Just Right: Add milk one tablespoon at a time until it’s thick but pipeable.
- Make-Ahead Magic: These keep beautifully for up to 5 days – perfect for meal prep!
- Avoiding a Watery Result: Use full-fat Greek yogurt and make sure it’s not too runny. If using a thinner yogurt, strain it first!
Flavor Twists & Topping Ideas (Get Creative!)
Flavor Variations:
- Chocolate Cheesecake: Add 1 tbsp cocoa powder + chocolate protein.
- Berry Swirl: Swirl in a teaspoon of berry compote before chilling.
- Peanut Butter Cup: Mix in 1 tbsp peanut butter + top with chopped dark chocolate.
- Lemon Zest: Add 1 tsp lemon zest + a squeeze of juice for a tangy twist.
- Pumpkin Spice: Mix in 2 tbsp canned pumpkin + ½ tsp pumpkin pie spice.
Topping Suggestions:
- Fresh berries
- Sugar-free chocolate drizzle
- Crushed nuts or granola
- Toasted coconut flakes
- Mini dark chocolate chips
- A dollop of Greek yogurt + a drizzle of nut butter
Dietary Adaptations & Notes
- Gluten-Free: Just use GF crust ingredients or skip the crust!
- Lower Carb / Keto: Use erythritol/stevia + almond flour crust or go crustless.
- Dairy-Free / Vegan: Tricky but doable – use DF yogurt, DF cream cheese, and vegan protein. Texture may vary slightly.
Storage Savvy
- Fridge: Store covered jars in the fridge for up to 5 days.
- Freezer: You can freeze them, but the texture may become less creamy when thawed. If freezing, thaw overnight in the fridge before eating.
Estimated Nutrition Per Jar (with crust)
- Calories: ~220
- Protein: ~23g
- Fat: ~8g
- Carbohydrates: ~12g
Disclaimer: Nutrition info is an estimate and varies based on brands, protein powder macros, and chosen toppings/sweeteners.
Let’s Chat!
And there you have it – the easiest, tastiest, and most satisfying little jars of protein cheesecake joy. They’re indulgent without the guilt, and just one bite will convince you to keep a stash in the fridge at all times.
So tell me…
👉 What flavor variation will you try first?
👉 Do you have a favorite healthy dessert hack?
Drop a comment below – I read them all! 💛
And hey – if you make these Protein Cheesecake Jars, snap a photo and tag me on Instagram. I love seeing your creations!

Protein Cheesecake Jars
Ingredients
- ½ cup (50g) crushed graham crackers or oat biscuits
- 1 tbsp 15g melted coconut oil or unsalted butter
- 1 tsp maple syrup or sweetener of choice
- 1 cup 240g plain Greek yogurt
- 8 oz 225g light cream cheese, softened
- 1 scoop 30g vanilla protein powder
- 2-3 tbsp (30–45ml) milk of choice
- 1-2 tbsp sweetener of choice
- 1 tsp vanilla extract
- 1 Pinch salt
Instructions
- 1. Make the Crust (Optional but delicious):Mix crushed crackers, melted oil, and sweetener in a small bowl. Press about 1–2 tablespoons into the bottom of each jar. Set aside.
- 2. Blend the Filling:In a medium bowl or blender, combine Greek yogurt, softened cream cheese, protein powder, milk, sweetener, vanilla, and salt. Pro Tip: Make sure your cream cheese is fully softened to avoid lumps! Blend until super smooth.
- 3. Layer It Up:Spoon or pipe the filling over the crust layer (or directly into jars if going crustless). Smooth the tops with the back of a spoon.
- 4. Chill:Cover and refrigerate for at least 2–3 hours, preferably overnight.This helps the cheesecake set and the flavors meld – worth the wait!
Notes
Pro Tips for a Tasty Protein Cheesecake Jars
- Lump-Free Filling Secret: Let your cream cheese sit out for 30–45 minutes before mixing. Room temp = silky smooth.
- Getting the Texture Just Right: Add milk one tablespoon at a time until it’s thick but pipeable.
- Make-Ahead Magic: These keep beautifully for up to 5 days – perfect for meal prep!
- Avoiding a Watery Result: Use full-fat Greek yogurt and make sure it’s not too runny. If using a thinner yogurt, strain it first!
For more Healthy Protein Packed Recipes, check out our :
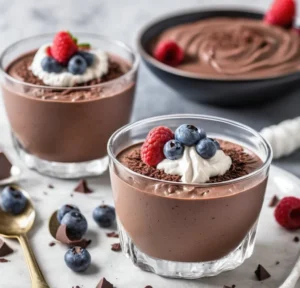
High Protein Chocolate Mousse with Greek Yogurt
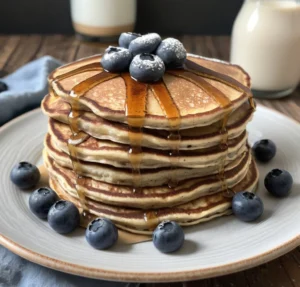
The Best Protein Pumpkin Pancakes Recipe to Start Your Day
Healthy Blueberry Protein Muffins